Blue Sky Plan – Implant Treatment Planning and Temp Restoration
Master digital implant planning and immediate temporization with Blue Sky Bio and ZBrush. Learn from expert Dr. Paul Zhivago and transform your implant practice.

Blue Sky Plan is the free implant planning software from Blue Sky Bio, and it is open. It imports DICOM and STL, exports STL, and sits comfortably alongside exocad, ZBrush and whatever scanner or printer you already own. That combination is why so many clinicians plan their guided surgery in it, and it is why Dr. Paul Zhivago, a prosthodontist who teaches digital dentistry, uses it in his own practice.
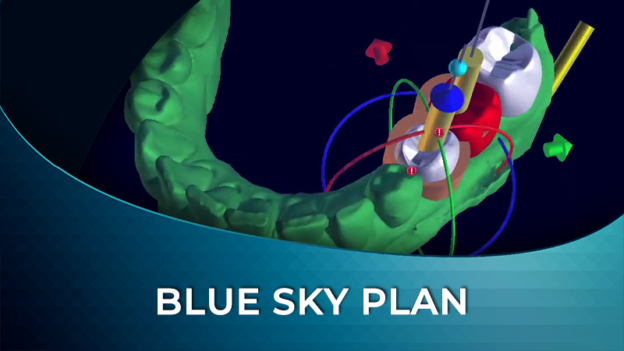
In this course Dr. Zhivago takes one real case from records to a printed provisional. A lower left bridge has failed, the second premolar has fractured at the gumline with no ferrule left to restore, and the plan is to extract it, place an immediate implant in that site and a second implant at the first molar, then load both with a three-unit provisional bridge on the day of surgery. Every step of the digital side of that plan is shown on screen.
You will merge the CBCT and intraoral scan, mark the mandibular nerve (including the anterior loop allowance), choose and position two implants prosthetically, draw and generate a surgical guide, design the crown that fits the prepared second molar, then move the whole plan into ZBrush to join the three units, cut the screw access holes with Live Boolean, relieve the intaglio against the soft tissue and export a printable STL. The course closes in the SprintRay software with the bridge supported and ready to print.
Dr. Zhivago works in Blue Sky Plan’s advanced mode rather than the wizard, so you see the tools the wizard hides. He also shows the traps as they happen, such as the ZBrush subtool import that overwrites the object you are working on, and how to recover.
This course is 1 hour 13 minutes across five lessons and two CPD/CE quizzes, and carries 2 CPD/CE hours. It is pitched at clinicians who already place implants or plan them for a surgeon, and who want a repeatable digital workflow they can run in-house. It is not a ZBrush tutorial. If ZBrush is new to you, watch Dr. Zhivago’s ZBrush – an alternative CAD software course first, because lesson 04 assumes you know how subtools work.
What you will learn
- Import DICOM data, set the field of view and read Blue Sky Plan’s sagittal, panoramic, 360 degree and 3D views
- Import and verify an intraoral STL against the CBCT, and realign it manually with a five-point match when the automatic alignment is not good enough
- Trace the inferior alveolar nerve and add a 6 mm anterior loop allowance before placing anything
- Select implants from the built-in libraries or build a custom implant, then use a 20 mm custom abutment as a parallelism marker
- Place teeth from the tooth library and the opposing arch so the implants are planned to the restoration, not the bone alone
- Draw a guide outline below the height of contour, finish it mid-tooth so seating can be checked, generate the guide and export it for printing
- Design a fitted crown on the prepared abutment in the crown and bridge module (margin line, insertion axis, cement gap for printing)
- Export implants, abutments, crowns, model and guide as separate STL files and bring them into ZBrush in the same coordinate space
- Merge three units into one provisional, cut screw access holes with Live Boolean, mask the fitted crown and use ZProject to relieve the intaglio
- Update the size ratio, export the final STL and set up the print in SprintRay with supports away from the intaglio
Software and equipment used in the recordings
Blue Sky Plan (free), ZBrush (full version, for ZProject), Medit i500 scanner, Vatech CBCT, SprintRay Pro 55 and Pro 95 printers, BioHorizons Tapered Pro Laser-Lok implants and the BioHorizons guided kit, Bego VarseoSmile Crown Plus resin. None of these are required to follow along. Any open STL and DICOM source will work.
Sold as part of the Digital Implantology Bundle.
Course Content
About Instructor

Course Includes
- 1 Chapter
- 5 Lessons
- 2 Quizzes
- Course Certificate
Ratings and Reviews