
Dental Photography Basics
Learn essential dental photography techniques from Dr. (Tiv) Thivagar Nirmalann. Master camera settings, flash techniques, and capture stunning clinical images. Ideal for dentists looking to improve their documentation and patient communication skills.

Most dental cameras are used on automatic, which is why two photos of the same mouth taken ten seconds apart come out at different brightness and different color. This short course fixes that. Dr. Thivagar (Tiv) Nirmalann explains the four settings that matter, gives you the numbers to dial in once and leave alone, and then takes a full set of clinical photographs on camera so you can see exactly how he holds the camera, positions the retractors and mirrors, and talks the patient through it.
The first lesson is the theory, and it is only eight minutes. ISO, shutter speed, aperture and flash, why each one pulls against the others, and the settings that resolve the conflict for dental work. ISO 100 to 200, a shutter around 1/200 of a second, f/22 on a DSLR or f/8 to f/11 on a mirrorless body, and the flash on manual rather than TTL so color is consistent from shot to shot.
The second lesson is the practical. With a dental assistant and a volunteer patient in the chair, Dr. Nirmalann shoots the standard intraoral series. Anterior closed and open, buccal retracted views on both sides (and a demonstration of how a poor angle turns a Class I molar relationship into an apparent Class II), upper and lower occlusal mirror shots, quadrant close-ups of occlusal, palatal and buccal surfaces, and the lingual view behind the lower incisors that patients respond to when you show them calculus. He then repeats the series with the patient holding their own retractors, and finishes with extraoral portrait and profile photos, bouncing the flash off the ceiling.
Along the way you pick up the habits that make it repeatable. Bracing your elbow on your knee or your assistant because you have lost the third leg of your tripod to the mirror. Turning the room lights up so autofocus locks. Warming the mirror in hot water (or a kettle, or the coffee machine) so it does not fog. Never reversing mirror shots, or always reversing them, but never mixing the two.
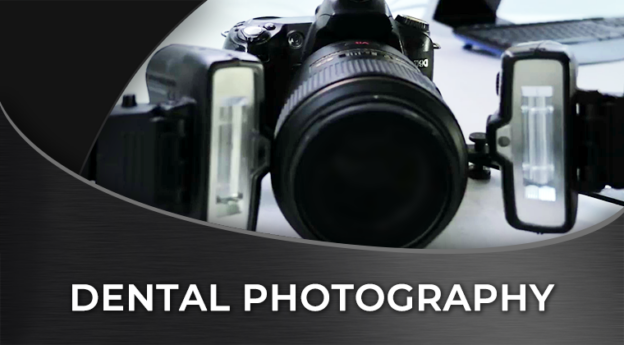
The course runs 19 minutes across two lessons and one CPD/CE quiz, and carries 0.5 CPD/CE hours. It is pitched at dentists, therapists, hygienists and assistants who are new to clinical photography or who have a camera in the practice that nobody uses with confidence. Any DSLR or mirrorless camera with a macro lens and either a ring flash or a dual-point flash will do. Dr. Nirmalann shoots on a Nikon with a dual-point flash and explains where a ring flash is the easier choice for a beginner.
What you will learn
- What ISO, shutter speed and aperture each control, and the settings that give sharp, consistent dental images
- Why f-stop numbers run backwards, and how aperture trades depth of field against light
- Ring flash versus dual-point flash, and why manual flash beats TTL for color consistency
- How to brace the camera when one hand is holding a mirror
- The standard intraoral series (anterior, buccal, occlusal, quadrant close-ups, lingual) and what each view is for
- How to coach a patient to retract for themselves with lip and horseshoe retractors
- Mirror handling, fogging prevention and a consistent policy on image reversal
- Extraoral portrait and profile technique with bounced flash and a wide aperture
Course Content
About Instructor

Course Includes
- 1 Chapter
- 2 Lessons
- 1 Quiz
- Course Certificate
Ratings and Reviews







my understanding for dental photography was not much. after taking this course I learned many new things which generally we ignore