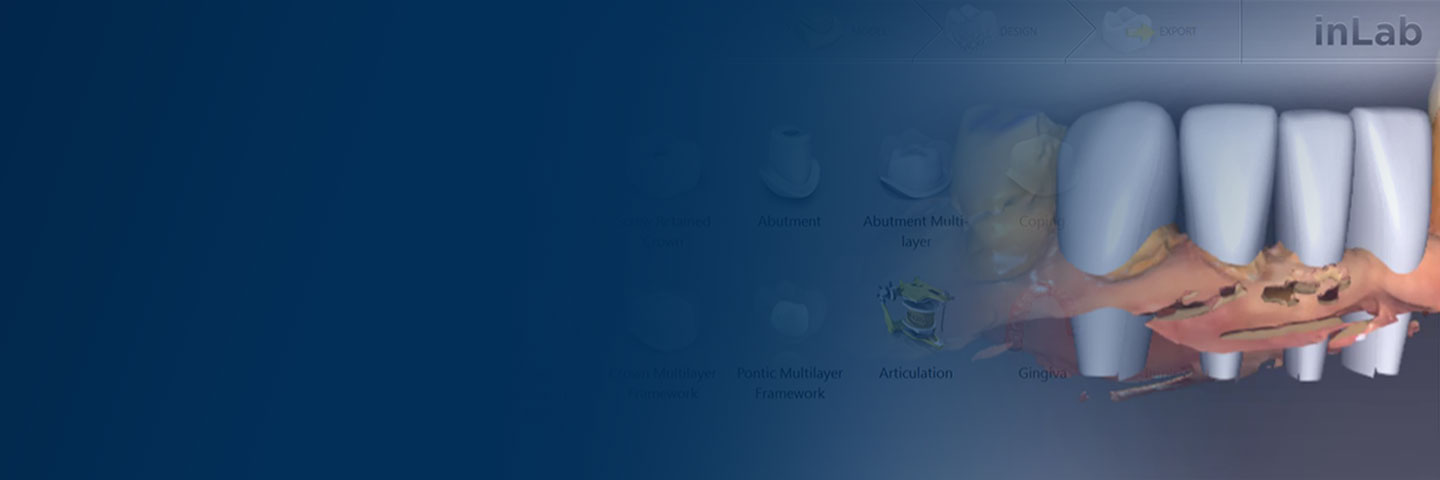
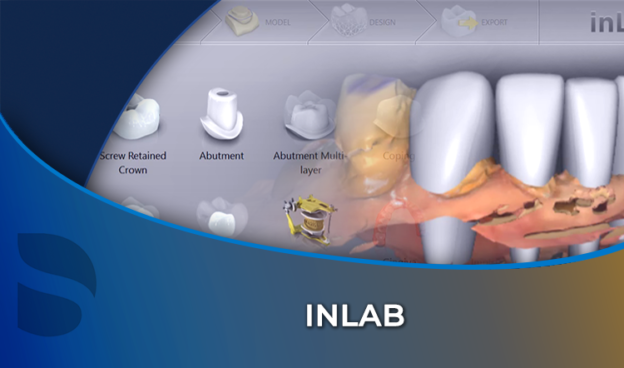
inLab

A lab on inLab takes cases from every scanner and every dentist, and the software shows it. An STL arrives with nothing filled in, an arrow has gone gray for a reason nobody can find, a bite lands on the prep, and a scan has a hole in it.
By the end of this course you should be able to set inLab up for your lab, key in any indication it offers, set every parameter the way Anton Martin sets it and say why, bring a scan in from any scanner, clean the model, draw margins on difficult preps, drive the design tools and send the case to the mill.
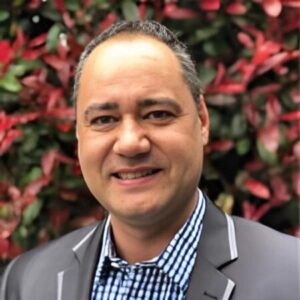
Anton Martin recorded it for iDD. Years of setting inLab up for labs as the CEREC specialist for Dentsply Sirona New Zealand went into it, and the course is screen recordings on real cases, two of which he calls difficult.
He recorded this in early 2023. All the information and processes are still relevant; just the software version, the material library and the scanner line-up are from then.
Nine chapters, 28 lessons and three hours of screen recording. Expect a screen-by-screen course, not a lecture.
Chapters 01 to 03 are the setup: what inLab is, the administration screen and the settings. Chapter 04 is the reference part, sixteen short lessons with his preset for every indication, and chapters 05 to 09 walk one case from import to export, with nearly an hour on the design tools in chapter 08.
What you will learn
- Why inLab splits CAD from CAM, and what that buys a lab
- Case setup for every indication inLab offers, from a single crown to a bar, a multilayer bridge, a surgical guide with several sleeves and an ATLANTIS export
- The settings, the two scanners and the material library, including how to hide the blocks you do not stock
- His parameter presets for crowns, inlays, veneers, screw-retained crowns, abutments, copings, telescopes, attachments, bars, pontics, frameworks, the articulator, implants, guides and connection parts, each with the reason: why a bonded crown gets more spacer than a cemented coping, why an implant crown gives up its proximal contact, why a pontic keeps tissue contact so the patient does not whistle
- DXD against STL, imported both ways, and what an STL costs you in manual setup
- Cleaning a model with the cut and replace tools, and getting a cut back
- Occlusion, model axis, jawline, margins and insertion axis on the two case types
- The design tools: morphology, positioning, scale, form, move, shape, biogeneric variation, the tooth databases, the reduce function, adjust contacts and recalculate
- Finalizing and exporting to inLab CAM, and how a lab stacks a disc or 60 e.max blocks for an overnight run
4 CPD/CE hours, assessed by three ten-question quizzes with an 80 percent pass mark and unlimited attempts.
You get lifetime access, updates included.
Written for lab technicians moving onto inLab and for dentists who want it beside their CEREC.
It does not cover the milling units themselves or the chairside CEREC workflow. Anton’s CEREC and inLab Milling Units covers the mills, his CEREC Clinical Workflows the chairside side, and Dr. Ahmad Al-Hassiny’s Perfect Ceramic Processing what happens to the restoration after the export. Buying the CEREC Same-Day Excellence bundle gets all three with this course; Perfect Ceramic Processing can also be bought on its own.
Sold as part of CEREC Same-Day Excellence.
Course Content
About Instructor
Course Includes
- 9 Chapters
- 28 Lessons
- 3 Quizzes
- Course Certificate
Ratings and Reviews